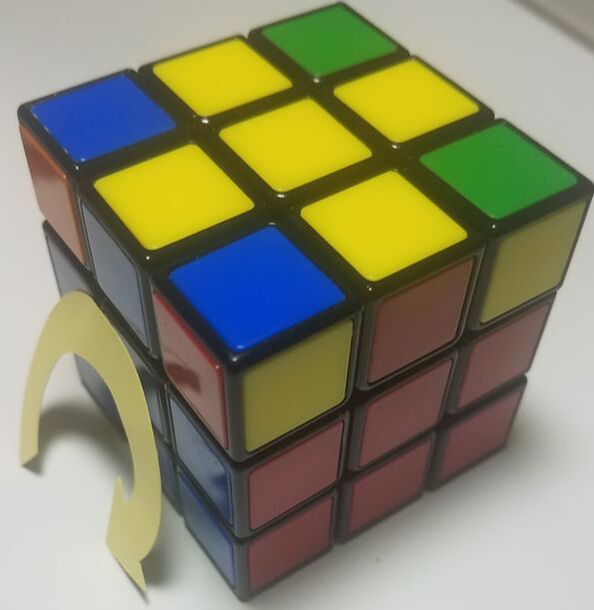
Step 6 Get the Yellow Corners in the correct spots (but NOT necessarily yellow up)
Step 6
1. Continue having the Yellow Center facing UP
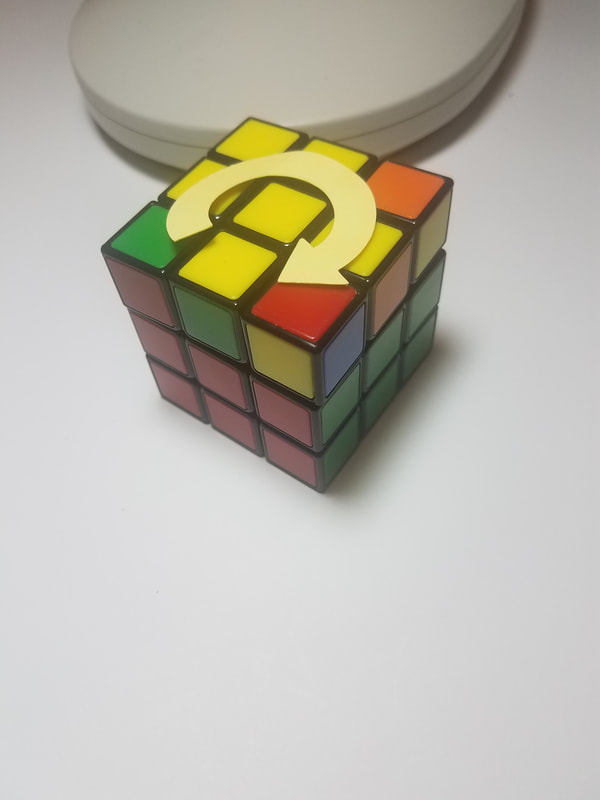
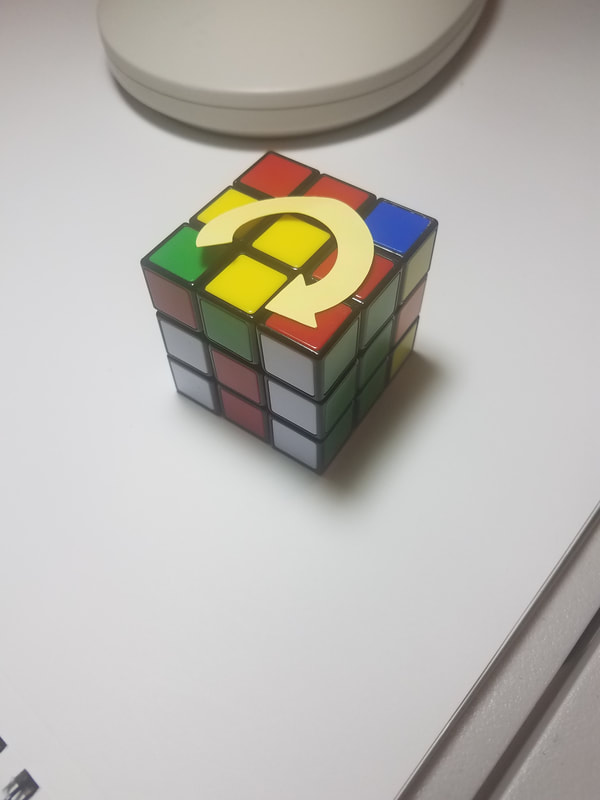
2. Just look over the cube top (do not turn the top face) and see if any of the yellow corners are currently in their correct position on the cube. If a yellow corner is in the correct place, turn the entire cube so that correct yellow corner is in the top position #9 as shown in the first photo below.
3. Step 6 Formula
(53) (54)' 5 (35)' 4 or (TR) (TL)' T (RT)'
or the expanded formula
5 3 5' 4' 5 3' 5' 4 or T R T' L' T R' T'
4. When completed with the formula the first time, check to see if all the yellow corners are in their correct places on the cube BUT they do NOT need their yellow sides facing up (turning the yellow sides of the corners up is the next and last Step 7). If the corners are still not in their correct places redo the Step 6 formula again until the corners are in the correct places.
Step 6 Formula (53) (54)' 5 (35)' 4 or expanded 5 3 5' 4' 5 3' 5' 4 or T R T' L' T R' T' L
left photo below shows 1st turn 5 or T
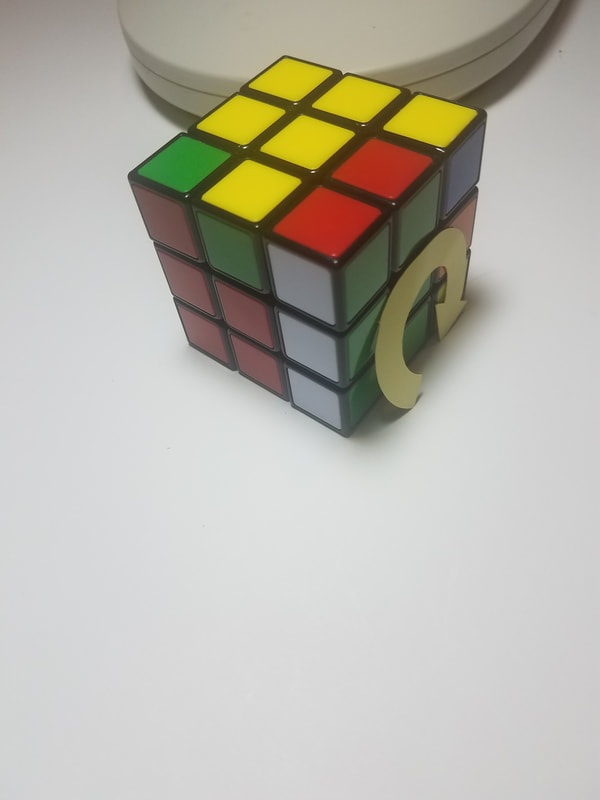
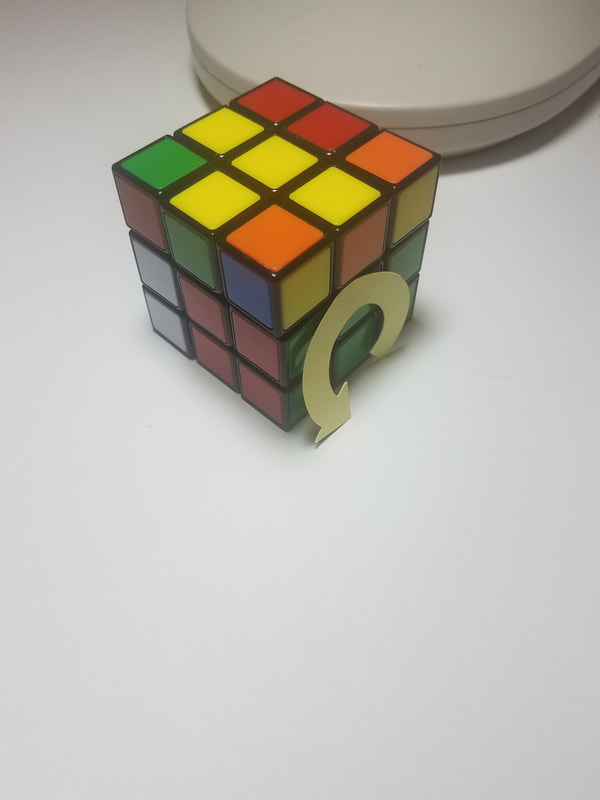
right photo shows 2nd turn 3 or R
left photo below shows 1st turn 5 or T
right photo shows 2nd turn 3 or R
Step 6 Formula (53) (54)' 5 (35)' 4 or expanded 5 3 5' 4' 5 3' 5' 4 or T R T' L' T R' T' L
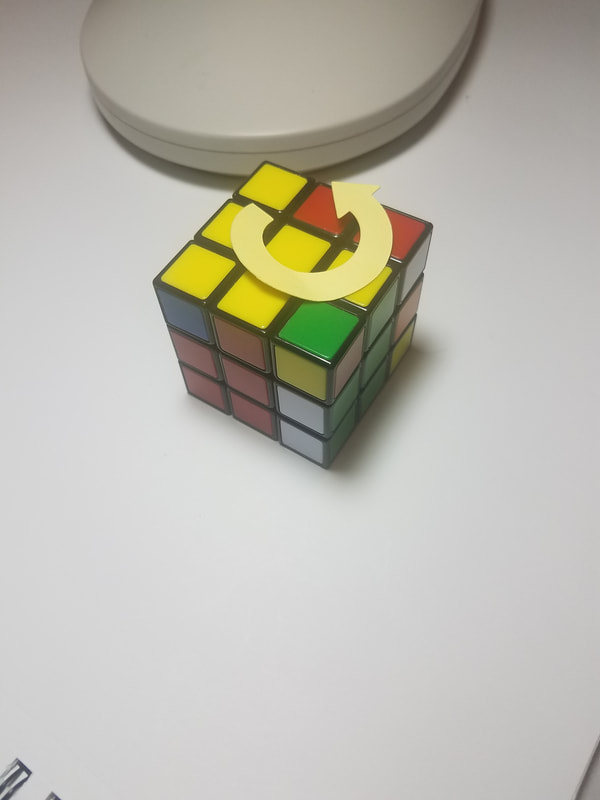
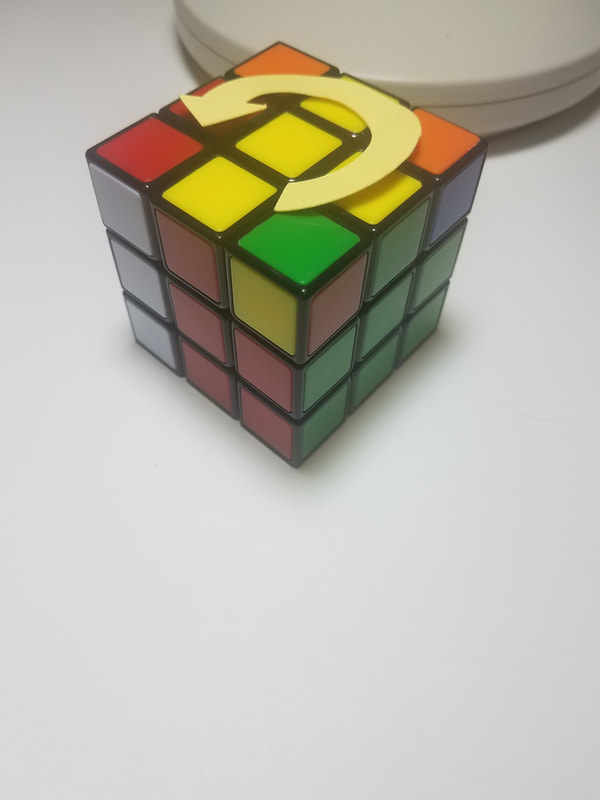
left photo below shows 3rd turn 5' or T'
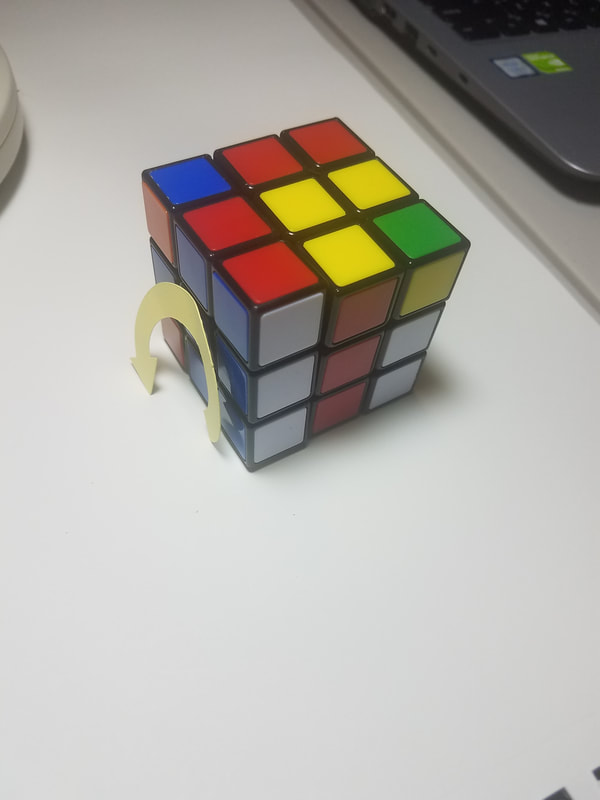
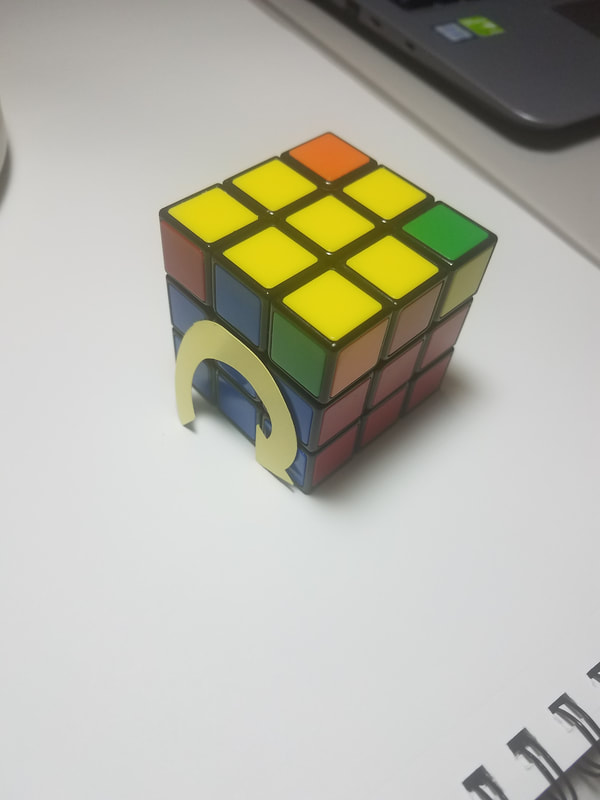
right photo shows 4th turn 4' or L'
left photo below shows 3rd turn 5' or T'
right photo shows 4th turn 4' or L'
Step 6 Formula (53) (54)' 5 (35)' 4 or expanded 5 3 5' 4' 5 3' 5' 4 or T R T' L' T R' T' L
left photo below shows 5th turn 5 or T
right photo shows 6th turn 3' or R'
left photo below shows 5th turn 5 or T
right photo shows 6th turn 3' or R'
Step 6 Formula (53) (54)' 5 (35)' 4 or expanded 5 3 5' 4' 5 3' 5' 4 or T R T' L' T R' T' L
left photo below shows 7th turn 5' or T'
right photo shows 8th turn 4 or L
left photo below shows 7th turn 5' or T'
right photo shows 8th turn 4 or L
Note after the 1st time through the Step 6 formula in the right photo above that the near corner photo is yellow/green/orange so definitely doesn't match the left side Blue center so after redoing the entire Step 6 formula a 2nd time the photo below shows the result of Step 6 8th and final turn. Now note the near corner yellow/blue/red is in the correct position on the cube matching the yellow/blue/red centers. The other three corners are good also but if not just do the Step 6 formula a 3rd time until Step 6 is complete.
Side Note: Remember that every time you complete a new step for the first time, mess the cube up and go through ALL the steps up to your current step several times as it's the repetition that gains the confidence you need to be assured that you'll always be able to solve the 3x3 Rubik's Cube confidently. At one time even I was learning the cube for the first time back in the early 1980's then in the 2010's I was interested again but had to learn all over again and that bothered me that I had forgotten so this 2nd time I devised this numeric way to solve the cube and now I haven't forgotten even though years have gone by without touching the cube as the # formulas I can remember from the repetition.
