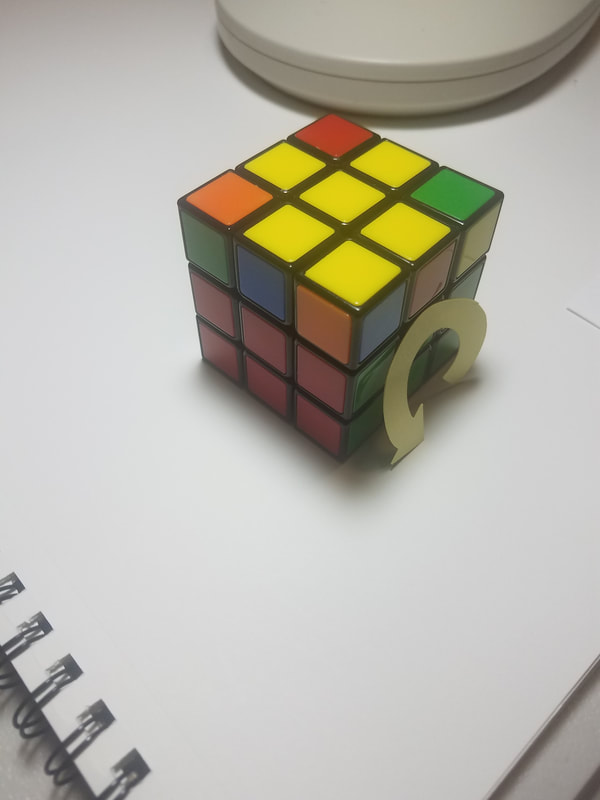
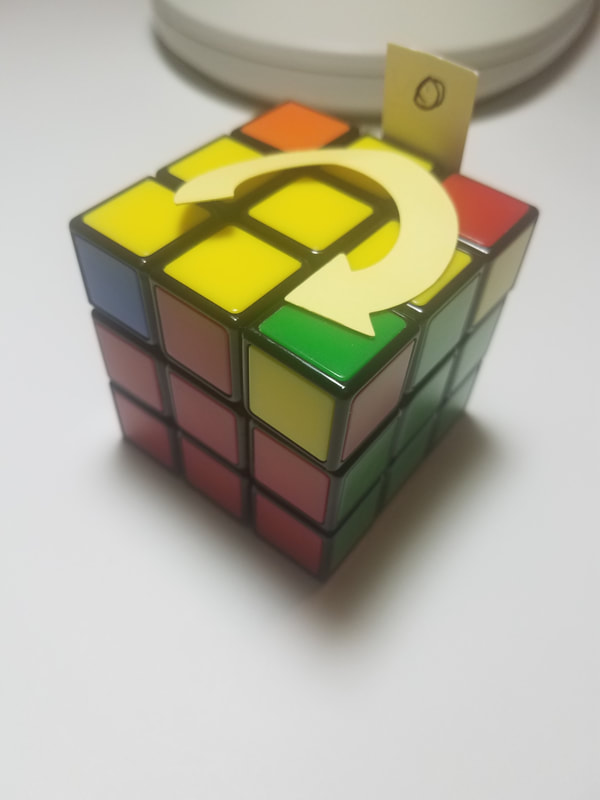
Step 5 Getting the Yellow Cross Edges into Their Proper Position
Side Note: You understand that what makes steps 4-7 meaningful is that you cannot destroy (goof up) any of the first two layers that you completed in steps 1-3. Faith Works.
Step 5 Moves
1. With the Yellow Center facing up
2. You can turn the top layer to match as many of the yellow edges to their centers as you can. If you get two adjacent yellow edges to match, turn the whole cube so those two matching yellow edges are at top positions 2 & 6
3. Now you are ready for the Step 5 Formula
35 3'5 355 3'5 or RT R'T RTT R'T
4. If opposite yellow edges match turn the whole cube to they are at top positions 4 & 6 then after using the formula once you'll get two adjacent yellow edges at top positions 2 &6 and you'll have to repeat Step 5 formula a 2nd time.
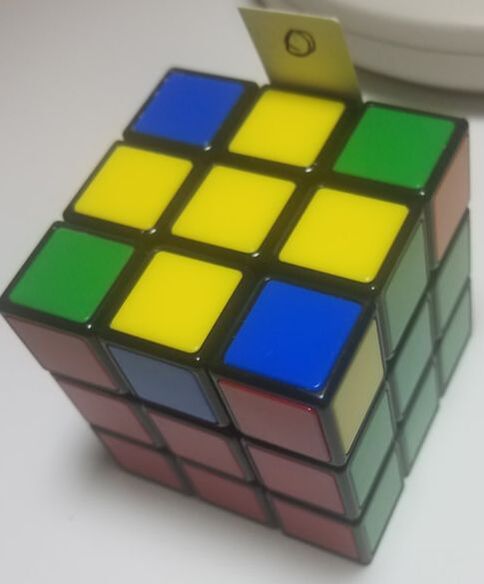
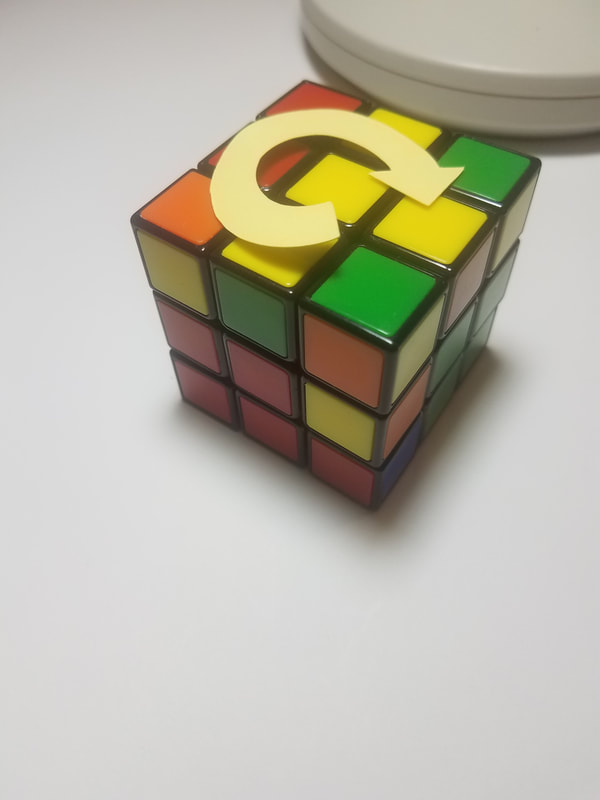
In the photo below the top has been turned either direction to get as many as the yellow edges to match their centers as possible. After getting the yellow/green and yellow/orange edges to match (thus the Yellow/blue & yellow/red do not match their center color faces) you need to turn the whole cube as the two top yellow edge matches at are top positions 2 & 6 as in the photo below. This is what determines what face is the front of the cube (in this case the red center face is the front of the cube. Now start the Step 5 formula. Continue below...
Step 5 Formula 3 5 3' 5 3 5 5 3' 5 or R T R' T R T T R' T
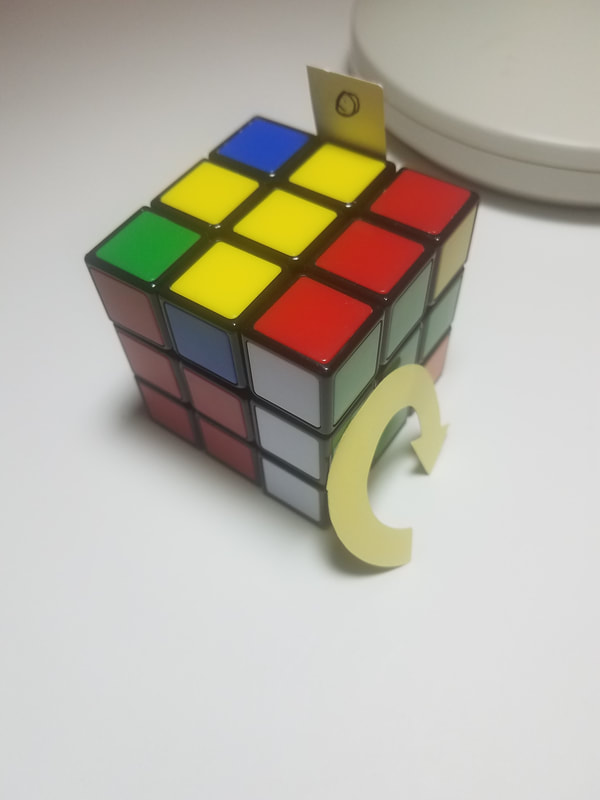
left photo below shows 1st turn 3 or R
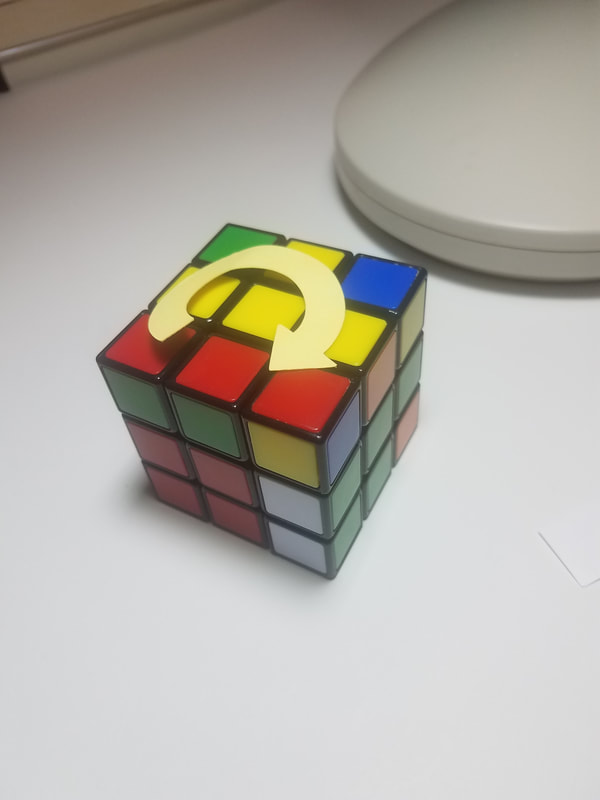
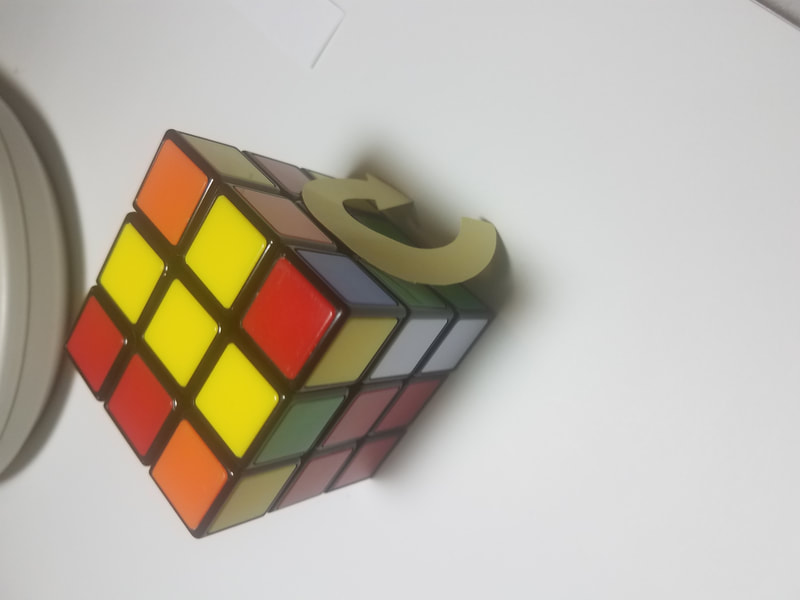
right photo shows 2nd turn 5 or T
left photo below shows 1st turn 3 or R
right photo shows 2nd turn 5 or T
Step 5 Formula 3 5 3' 5 3 5 5 3' 5 or R T R' T R T T R' T
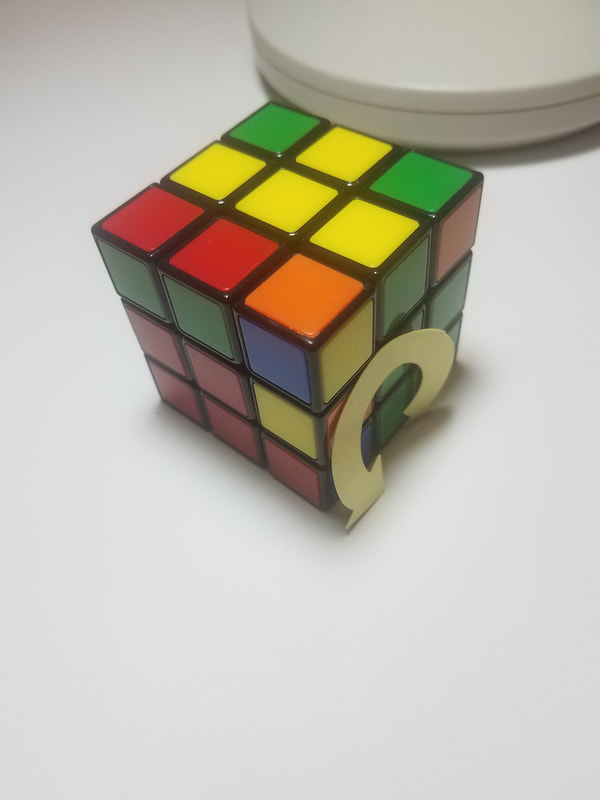
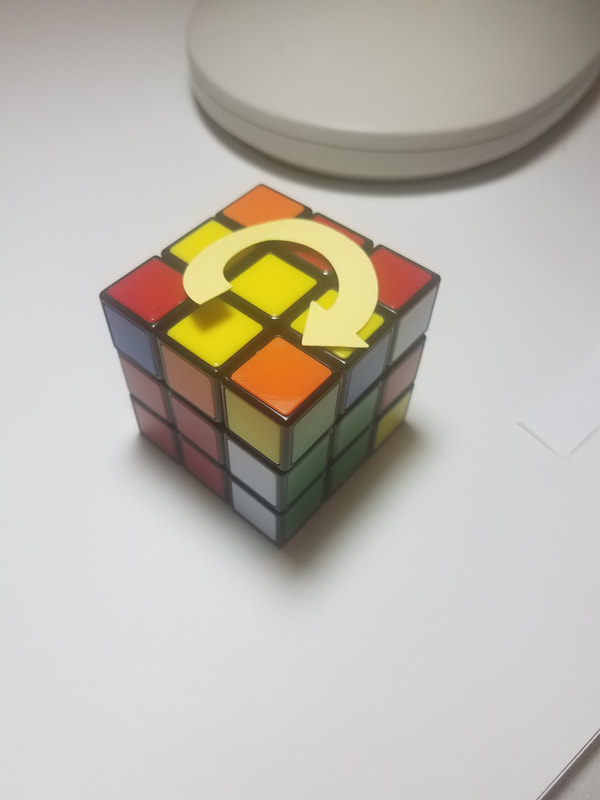
left photo below shows 3rd turn 3' or R'
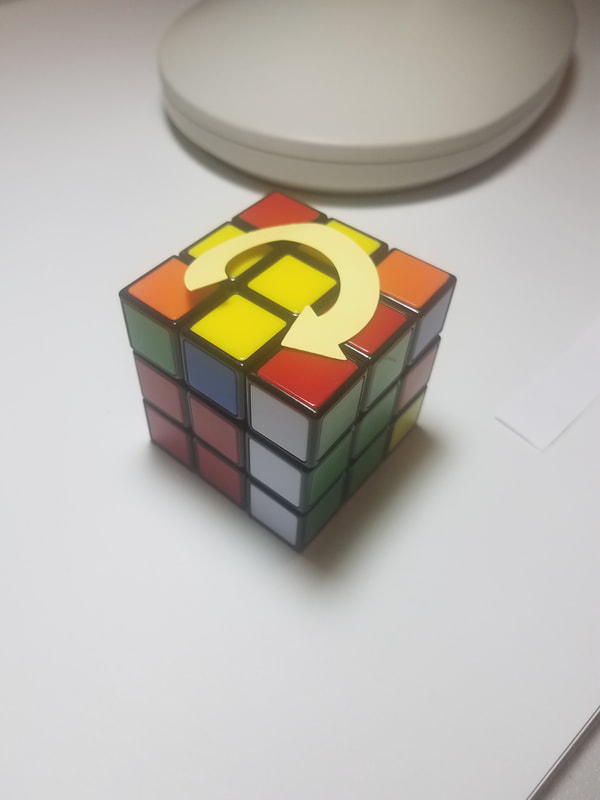
right photo shows 4th turn 5 or T
left photo below shows 3rd turn 3' or R'
right photo shows 4th turn 5 or T
Step 5 Formula 3 5 3' 5 3 5 5 3' 5 or R T R' T R T T R' T
left photo below shows the 5th turn 3 or R
center photo shows the 6th turn 5 or T
right photo shows the 7th turn 5 or T a 2nd consecutive time
left photo below shows the 5th turn 3 or R
center photo shows the 6th turn 5 or T
right photo shows the 7th turn 5 or T a 2nd consecutive time
Step 5 Formula 3 5 3' 5 3 5 5 3' 5 or R T R' T R T T R' T
Side Note: This is a cool formula as you witness the white pieces returning and it's all 3 & 5's with two 3' thrown in
If your top yellow edge pieces do not all match their center faces you may have to do the Step 5 formula again as explained above. Onto Step 6...
If your top yellow edge pieces do not all match their center faces you may have to do the Step 5 formula again as explained above. Onto Step 6...
